
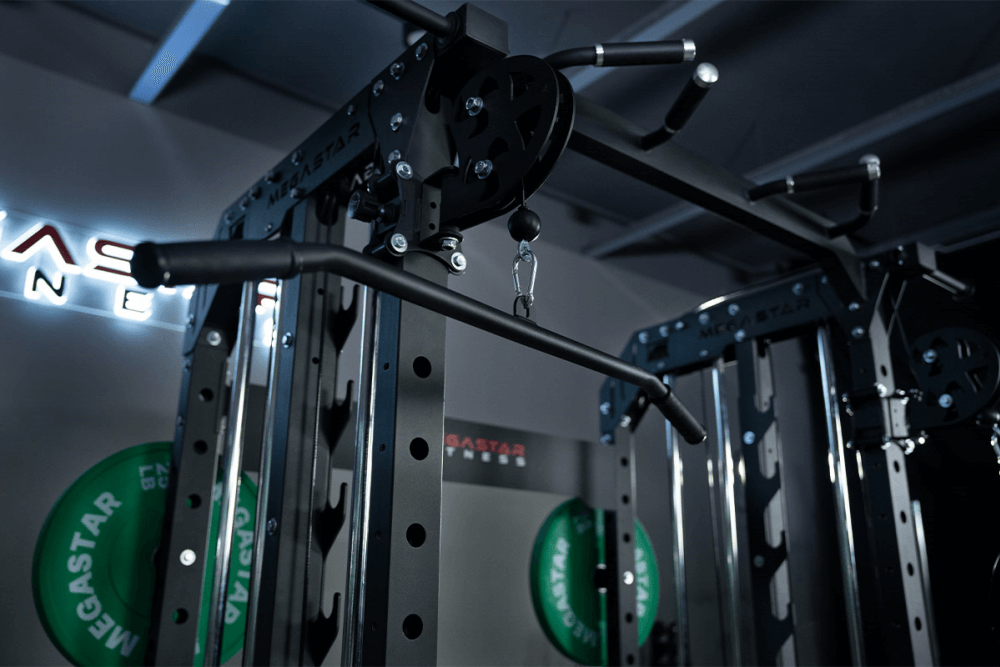

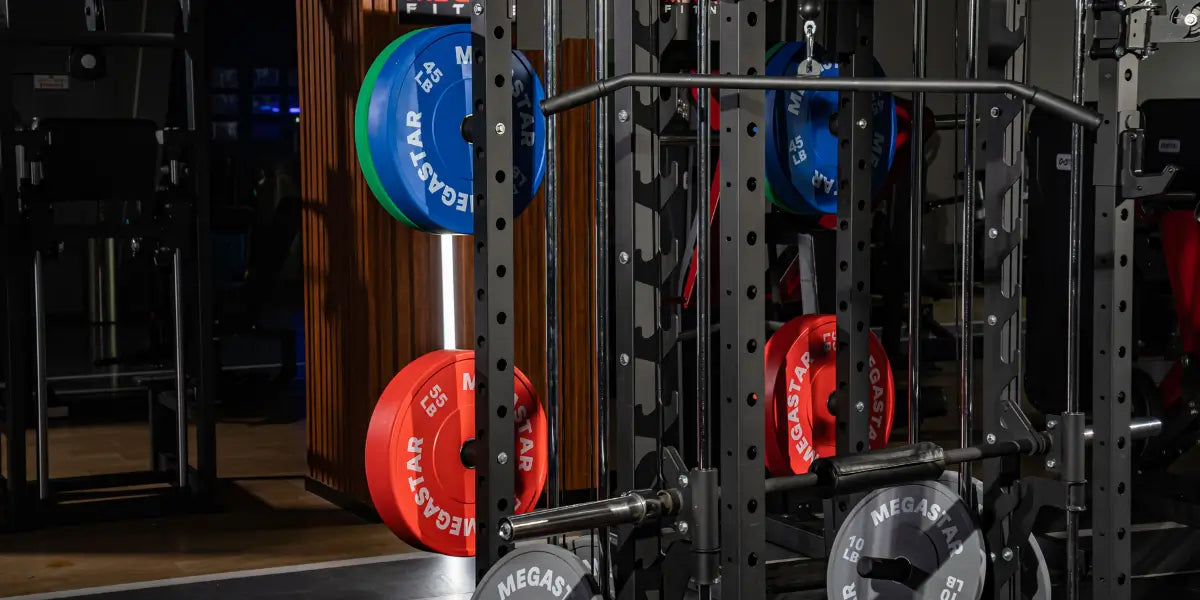
Standard power rack hole spacing typically offers 2-inch increments, suitable for general strength training, while Westside hole spacing provides finer adjustments, particularly in the bench press area. This allows for more precise bar placement and improved safety, making it ideal for powerlifters. Understanding these differences helps you select the right rack based on your training style and accessory needs.
Understanding Power Rack Hole Spacing
What Is Standard Power Rack Hole Spacing?
Most power racks feature a standard hole spacing of roughly 2 inches (50 mm) between holes. This spacing is common across many brands and works well for general strength training and bodybuilding. While it provides solid adjustability, the increments may be too large for precise positioning.
What Is Westside Hole Spacing?
Westside hole spacing offers finer increments, especially in the bench press area. It typically features 1-inch spacing near the bench zone and wider spacing elsewhere. This setup allows for micro-adjustments of safety bars and J-hooks, enabling precise bar placement and enhancing safety, which is vital for powerlifters and serious bench press training.

Key Differences Between Standard and Westside Spacing
|
Feature |
Standard Spacing |
Westside Spacing |
|
Hole Distance |
2 inches (50 mm) |
1 inch near bench, 2 inches elsewhere |
|
Adjustment Precision |
Coarser |
Fine, micro-adjustments |
|
Typical Use |
General fitness |
Powerlifting bench press |
|
Accessory Compatibility |
Wide |
Limited to Westside-compatible |
Why Hole Spacing Matters in Your Training
Precision Adjustment for Safety and Performance
Westside spacing lets you adjust safety bars and J-hooks in smaller steps, helping you find the perfect lifting position. This precision reduces injury risk and optimizes lifting form, especially during heavy bench presses.
Training Style Determines Your Spacing Needs
Powerlifters and athletes following Westside methods benefit most from micro-adjustments. For general fitness or bodybuilding, standard spacing offers broad accessory options and easier setups.
Attachment Compatibility and Versatility
Attachments like dip stations, landmine posts, and safety arms are often designed for either standard or Westside hole spacing. Knowing your rack’s spacing prevents buying incompatible gear.
Common Challenges with Hole Spacing
Confusion Over Different Hole Patterns
Many buyers struggle to identify their rack’s hole spacing due to unclear product details, leading to poor purchase choices.
Accessory Fit Issues
Accessories designed for one spacing type often won’t fit racks with a different hole pattern, causing costly returns or frustrating modifications.
Limited Adjustment Precision on Standard Racks
The 2-inch spacing of standard racks may force compromises on safety bar or J-hook positioning, affecting lift safety.

How to Choose the Right Hole Spacing for Your Power Rack
Match Spacing to Your Training Style
If you need fine safety adjustments for bench press or heavy lifts, Westside spacing is ideal. If you prioritize accessory variety and general use, standard spacing works well. When selecting a rack, considering a cage power system with versatile hole spacing can provide both strength and adaptability for various training needs.
Think about Future Accessories
Choose a hole spacing system compatible with your current and planned attachments to avoid costly replacements.
Look for Clear Product Specifications
Always verify hole spacing details in product specs or contact sellers before purchase.
Measuring and Understanding Your Rack’s Hole Spacing
How to Measure Hole Spacing Accurately
-
Use a tape measure or ruler.
-
Measure from the center of one hole to the center of the adjacent hole vertically.
-
Standard spacing is about 2 inches (50 mm); Westside spacing is 1 inch between holes near the bench area.
Use Visual Guides to Compare Spacing
If available, print measurement templates or compare photos showing side-by-side rack uprights. This visual comparison makes it easier to identify your rack’s spacing system.

Summary: The Importance of Hole Spacing in Power Racks
Optimize Safety and Performance With the Right Spacing
Understanding your rack’s hole spacing helps you position bars and safety equipment accurately, enhancing both safety and training effectiveness.
Choose a Rack that Supports Your Training Goals
Pick a power rack with hole spacing tailored to your lifting style—whether that means fine micro-adjustments for powerlifting or broad accessory compatibility for general strength training.
Optional: Frequently Asked Questions (FAQ)
Q: Can I use accessories from a Westside-spaced rack on a standard-spaced rack?
A: Usually not. Accessories designed for Westside spacing often don’t fit standard 2-inch spaced holes.
Q: Is Westside spacing only useful for bench press?
A: It’s most beneficial in the bench press zone, but some racks use it throughout for finer adjustments.
Q: How do I know if my rack has Westside spacing?
A: Measure the hole distance near the bench press area—if you see 1-inch spacing, that’s Westside style.