

Let's be honest: when you think of the Smith machine, you probably picture squats or bench presses. The idea of using it for a bent-over row might seem a little confusing. But if you're looking for a stable, effective, and beginner-friendly way to build a thick, strong back, you might be overlooking one of the best tools in the gym.
This article is your complete guide. We'll clear up the confusion and show you exactly why the Smith machine row deserves a spot in your routine. We'll cover everything from setup to step-by-step execution, helping you decide if this is the right move for your back-building goals.
First, let's see how it stacks up against the other common rowing variations.
Quick Comparison: Row Variations
|
Feature |
Smith Machine Row |
Barbell Row |
Dumbbell Row |
|
Stability |
Very High. The bar is on a fixed path. |
Low. You must stabilize the free-weight bar. |
Medium. Each arm works independently. |
|
Focus |
Excellent for muscle isolation and mind-muscle connection. |
Best for raw, functional strength and power. |
Great for correcting imbalances and a deep range of motion. |
|
Ease of Use |
Beginner-friendly. Easy to set up and learn. |
Advanced. Requires good form and a strong core. |
Intermediate. Requires good core control. |
|
Weak Point |
Fixed path can feel unnatural for some body types. |
High risk of lower back strain with bad form. |
Can be limited by grip strength on heavy sets. |
Smith Machine Bent Over Row Basics
So, what exactly is a Smith machine row? It’s a bent-over row, a foundational back-building exercise, performed using the guided barbell in a Smith machine. Instead of a free-weight bar that you have to balance, the Smith machine bar slides along vertical (or slightly angled) rails.
This fixed path is its main feature. It takes the balance and stabilization requirements out of the equation, letting you focus 100% on one thing: pulling with your back.
Main muscles involved:
- Lats (latissimus dorsi): The big muscles on the sides of your back that give width and help pull the bar in toward your body.
- Mid-back (rhomboids, lower traps): Help squeeze your shoulder blades together and build thickness.
- Upper traps: Assist with stabilizing the shoulders.
- Rear delts: The back part of your shoulders that help with rowing and pulling.
- Biceps and forearms: Assist with bending the elbows and gripping the bar.
- Core (abs and lower back): Stabilize your torso while you hinge over.
You can think of the Smith machine row as a “one-stop shop” for building overall back thickness.
What A Smith Machine Row Does For Your Back
Done correctly, the Smith machine row:
- Builds back thickness: Hitting your mid-back, lats, and rear delts makes your back look denser from behind and the side.
- Improves pulling strength: This carries over to pull-ups, deadlifts, and even pressing movements by giving your upper body more stability.
- Reinforces good posture: Strengthening the mid-back helps counter rounded shoulders from sitting or phone use.
Because you don’t spend as much energy balancing the bar, you can often focus more on squeezing your back and controlling each rep.
How to Set Up for Rows on Smith Machine

A great set starts with a great setup. Here’s how to get it right.
First, set the bar height. You want it at a position where you can un-rack it comfortably. A good starting point is usually mid-shin to just below the knee. This allows you to get into a solid hinge position without having to lift the bar from the floor.
Next, set the safety stops. This is a key benefit of the Smith machine. Set the stops an inch or two below the lowest point of your row. This way, if you fatigue, you can safely set the bar down without hurting your lower back.
Your foot position should be about shoulder-width apart, with your toes pointed forward or slightly out. Stand close enough to the bar that when you hinge forward, your shins are nearly vertical and the bar is directly over your mid-foot.
Find Your Stance, Grip, and Body Angle
This is where you dial in the exercise to fit your body and your goals.
- Stance: Shoulder-width is the standard. Going slightly wider can sometimes help you feel more stable. The most important thing is to feel balanced and grounded.
- Grip (Overhand vs. Underhand): This is a key variable.
Overhand Grip (Pronated): Your palms face the floor. This grip, especially when taken slightly wider than your shoulders, tends to target the upper back, traps, and rear delts more.
Underhand Grip (Supinated): Your palms face up. This grip brings your elbows in closer to your body, which often allows for a better lat-focused contraction and brings more biceps into the movement.
- Body Angle: Hinge at your hips, pushing your butt back as if you're trying to close a car door with it. Your knees should have a slight bend, but this is not a squat. Your back must remain flat—no rounding! Aim for a torso angle anywhere from 45 degrees to nearly parallel with the floor. The more parallel you are, the more it targets the lats; the more upright you are, the more it hits the upper traps.
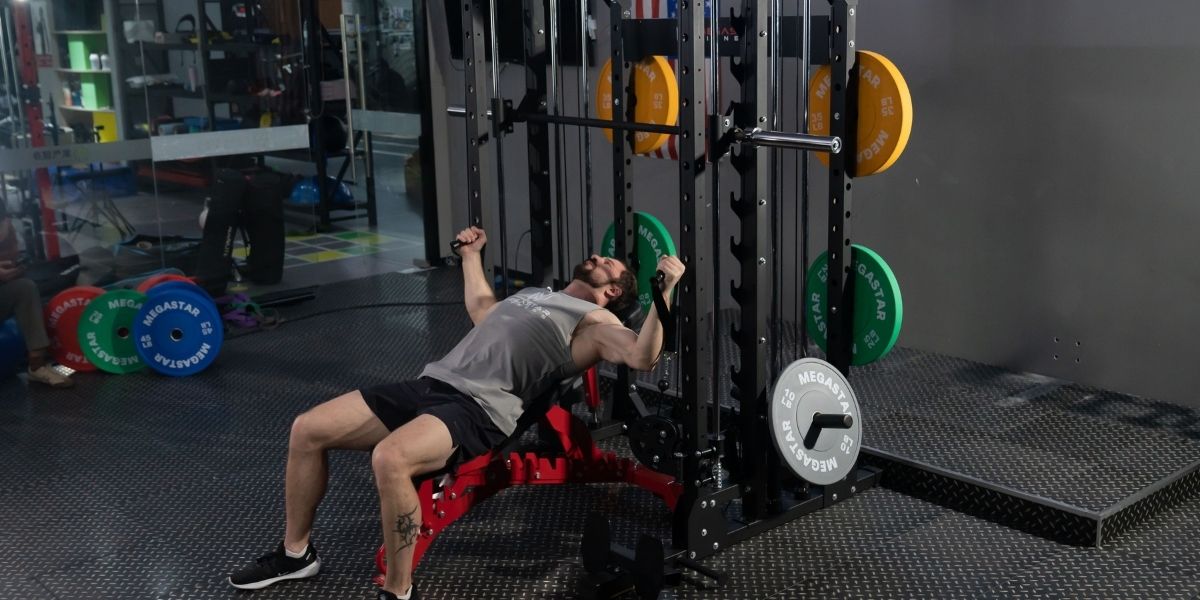
Step-by-Step Guide to Rows With Smith Machine
Once you're set up, you're ready to pull. Follow these steps for a perfect rep.
Step 1: Get Into the Right Starting Position
Stand with your feet shoulder-width apart, bar over your mid-foot. Hinge at your hips, keeping your back perfectly flat and your core braced. Grab the bar with your chosen grip (overhand or underhand). Rotate the bar to un-rack it. Let it hang at full arm's length, maintaining the "proud chest" and flat-back position. This is your start.
Step 2: Pull the Bar Toward Your Body (Not Your Arms)
This is the most important cue. Don't think about "lifting the weight." Think about driving your elbows up and back toward the ceiling. Initiate the pull with your back muscles, not by curling the weight with your biceps.
- If using an overhand grip: Pull the bar toward your lower chest or upper stomach.
- If using an underhand grip: Pull the bar toward your belly button.
Step 3: Squeeze at the Top and Lower With Control
Pull until the bar touches, or nearly touches, your torso. At the very top of the movement, pause for one full second and squeeze your shoulder blades together. Imagine you're trying to pinch a pencil between them. This contraction is where the magic happens.
After the squeeze, don't just drop the weight. Lower the bar with control, taking 2-3 seconds to return to the starting position. This controlled negative (or eccentric) phase is just as important for building muscle as the pull itself.
Step 4: Keep Your Back Flat and Core Tight Throughout
Your torso should remain rock-solid during the entire set. The only things moving are your arms and shoulder blades.
Tips for Rows With the Smith Machine Safely and Effectively

- Set the Safety Stops: Always. They are your failsafe.
- Control the Negative: Don't just drop the bar. A controlled 2-3 second lowering phase builds muscle and prevents injury.
- No Jerking: Don't use your legs or lower back to "hump" the weight up. If you have to, the weight is too heavy.
- Mind-Muscle Connection: Focus your mind on the back muscles. Feel them pulling the weight.
- Full Range of Motion: Get a full stretch at the bottom (arms fully extended) and a full, hard squeeze at the top.
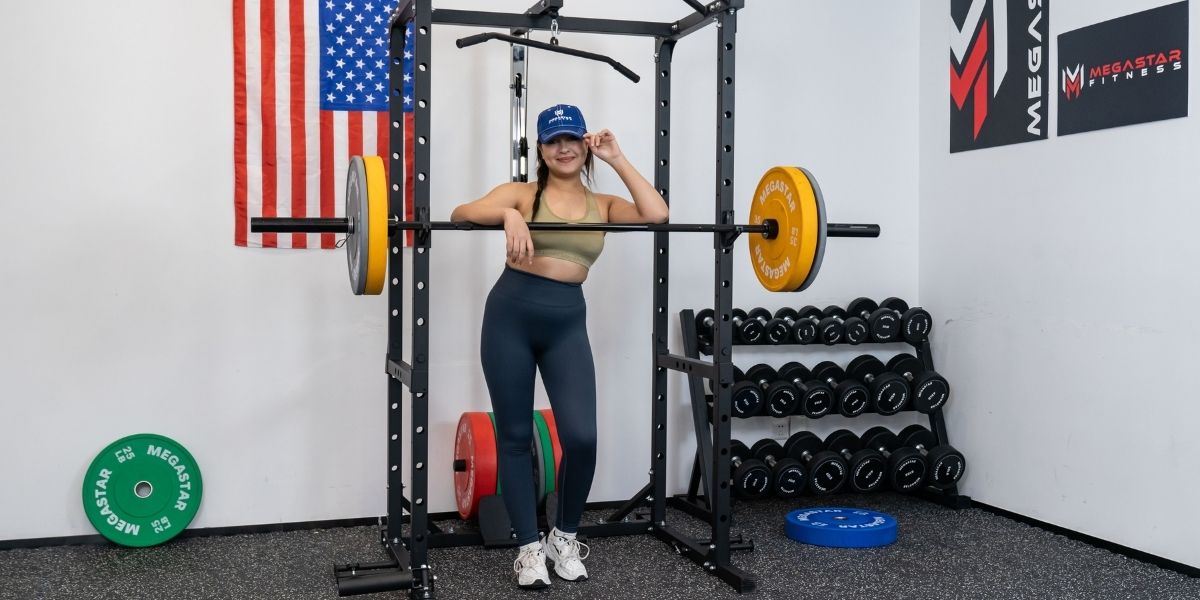
Build Your Back at Home
Speaking of home gyms, the stability and safety of a Smith machine are exactly why it’s a cornerstone for so many. If you're looking to build a complete workout space, a multi-function machine is key. Megastar Fitness offers all-in-one solutions, like P107 All-In-One Smith Machine or the P70 Compact Home Gym, which combine a Smith machine, power rack, and cable system. It’s the perfect setup to perform rows, presses, and dozens of other exercises safely in your own home.
Conclusion
The Smith machine row is far from a "lesser" exercise. It's a powerful tool for building back thickness and strength, offering a unique blend of stability and heavy-lifting potential.
By removing the need to balance the bar, it allows beginners to learn perfect pulling mechanics and advanced lifters to focus purely on muscular contraction. If you've been skipping it, it's time to give the Smith machine row the respect it deserves and add it to your back-day arsenal.
FAQs About Smith Machine Row
Is the Smith machine good for beginners?
Yes, it's excellent for beginners. It locks you into a stable path, which allows you to learn the fundamental hinge-and-pull movement without worrying about balance. This lets you focus 100% on feeling the right muscles work (the mind-muscle connection) and drilling in good form from the start.
How is it different from barbell rows?
The main difference is stability vs. stabilization.
Barbell Row (Free Weight): You must stabilize the bar. This recruits more stabilizer muscles throughout your core, glutes, and lower back. It's more "functional" but also harder to learn and easier to cheat on.
Smith Machine Row: The machine provides the stability. This removes the stabilization work and allows you to purely isolate your lats, traps, and rhomboids. You can often lift more weight or get more reps because balance isn't a limiting factor.
Can I build a strong back just using the Smith machine?
You can build a very big and strong back using the Smith machine as your primary row. It's a perfectly valid "meat and potatoes" exercise. For a complete, well-rounded back, it's ideal to also include a vertical pulling motion (like pull-ups or lat pulldowns) and other movements from different angles, but the Smith row is a fantastic cornerstone.
Are there alternatives to the Smith Machine Row?
Yes: barbell bent-over rows, chest-supported T-bar or machine rows, single-arm dumbbell rows, and cable rows. Rotate options every 6–10 weeks to stay fresh and keep progress moving.